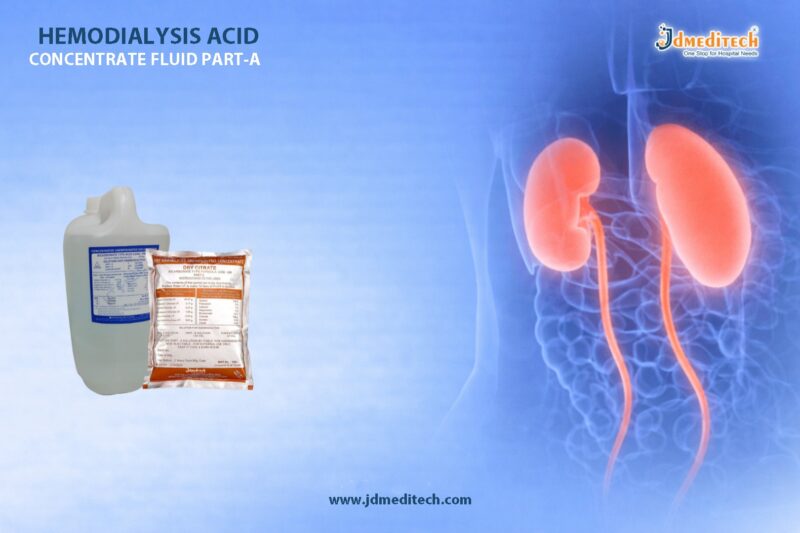
In modern renal care, maintaining the correct acid-base balance is essential for patient safety and treatment effectiveness. Hemodialysis Bicarbonate Concentrate Powder (Part B) plays a crucial role in ensuring optimal dialysis outcomes. It works alongside acid concentrate (Part A) to create a balanced dialysate solution, helping remove toxins while stabilizing the patient’s blood pH.
Because dialysis patients cannot regulate acid levels naturally, using a high-quality hemodialysis bicarbonate concentrate powder becomes essential for safe and consistent therapy.
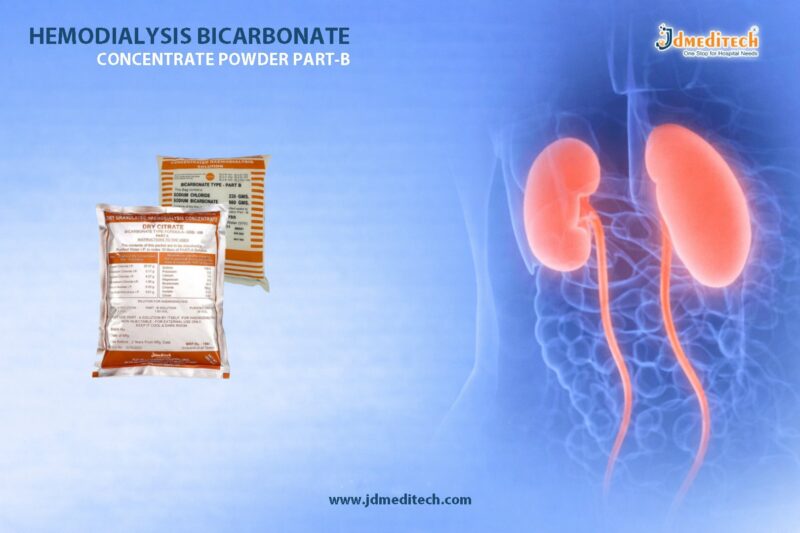
What is Hemodialysis Bicarbonate Concentrate Powder (Part B)?
Hemodialysis Bicarbonate Concentrate Powder (Part B) is a specially formulated alkaline component used in dialysis treatment. It is typically mixed with purified water and acid concentrate to prepare dialysate.
This powder contains medical-grade sodium bicarbonate, which helps:
- Neutralize metabolic acidosis
- Maintain physiological pH levels
- Support efficient toxin removal
As a result, it becomes a critical component in every hemodialysis session.
Why Acid-Base Balance Matters in Dialysis
Patients with chronic kidney disease (CKD) often develop metabolic acidosis, a condition where excess acid accumulates in the body. Therefore, correcting this imbalance is vital.
Key Benefits of Proper Acid-Base Balance:
- Improves patient comfort during dialysis
- Reduces muscle breakdown and fatigue
- Enhances cardiovascular stability
- Supports overall metabolic function
Thus, Hemodialysis Bicarbonate Concentrate Powder (Part B) ensures that the dialysate effectively restores balance during treatment.
Key Features of Hemodialysis Bicarbonate Concentrate Powder (Part B)
1. High Purity Composition
Manufactured using pharmaceutical-grade sodium bicarbonate to ensure safety and consistency.
2. Excellent Solubility
The powder dissolves quickly in water, allowing smooth preparation of dialysate without residue.
3. Compatible with All Dialysis Machines
Designed to work seamlessly with various dialysis systems, ensuring versatility in clinical settings.
4. Stable and Reliable Performance
Provides consistent bicarbonate levels, which are essential for maintaining acid-base equilibrium.
5. Easy Storage and Handling
Powder form offers longer shelf life and convenient transportation compared to liquid solutions.
Clinical Applications
Hemodialysis Bicarbonate Concentrate Powder (Part B) is widely used in:
- Hemodialysis centers
- Hospitals and nephrology departments
- Dialysis clinics
- Home dialysis setups (under supervision)
It is suitable for both acute and chronic dialysis treatments, making it a versatile solution for healthcare providers.
Advantages Over Liquid Bicarbonate Solutions
Choosing bicarbonate concentrate powder (Part B) offers several advantages:
- Lower transportation costs due to reduced weight
- Longer shelf life and reduced risk of contamination
- On-demand preparation for fresh dialysate
- Space-saving storage
Therefore, many healthcare facilities prefer powder-based solutions for efficiency and cost-effectiveness.
How It Works in Dialysis
During hemodialysis:
- The bicarbonate powder is mixed with purified water
- It is combined with acid concentrate (Part A)
- The dialysis machine prepares the final dialysate
- The dialysate helps remove toxins and correct pH imbalance
As a result, Hemodialysis Bicarbonate Concentrate Powder (Part B) ensures safe and effective dialysis treatment.
Quality and Safety Considerations
When selecting a hemodialysis bicarbonate concentrate powder, ensure:
- Compliance with medical standards (ISO, CE, or equivalent)
- Sterile and contamination-free packaging
- Accurate composition for consistent performance
- Compatibility with dialysis machines
High-quality products directly impact patient safety and treatment outcomes.
Why Choose JDMeditech Hemodialysis Solutions?
At JDMeditech, we prioritize quality, reliability, and clinical performance. Our Hemodialysis Bicarbonate Concentrate Powder (Part B) is designed to meet global standards and deliver consistent results.
Our Key Strengths:
- Strict quality control processes
- High-purity medical-grade ingredients
- Trusted by healthcare professionals
- Reliable supply and packaging
Conclusion
In conclusion, Hemodialysis Bicarbonate Concentrate Powder (Part B) is an essential component in modern dialysis therapy. It ensures effective acid-base correction, improves patient outcomes, and supports reliable treatment delivery.
By choosing a high-quality bicarbonate concentrate powder, healthcare providers can enhance dialysis efficiency while maintaining patient safety.
Get Connected:
+91 79909 93062 | +91 63513 72032 | exports@jdmeditech.com